
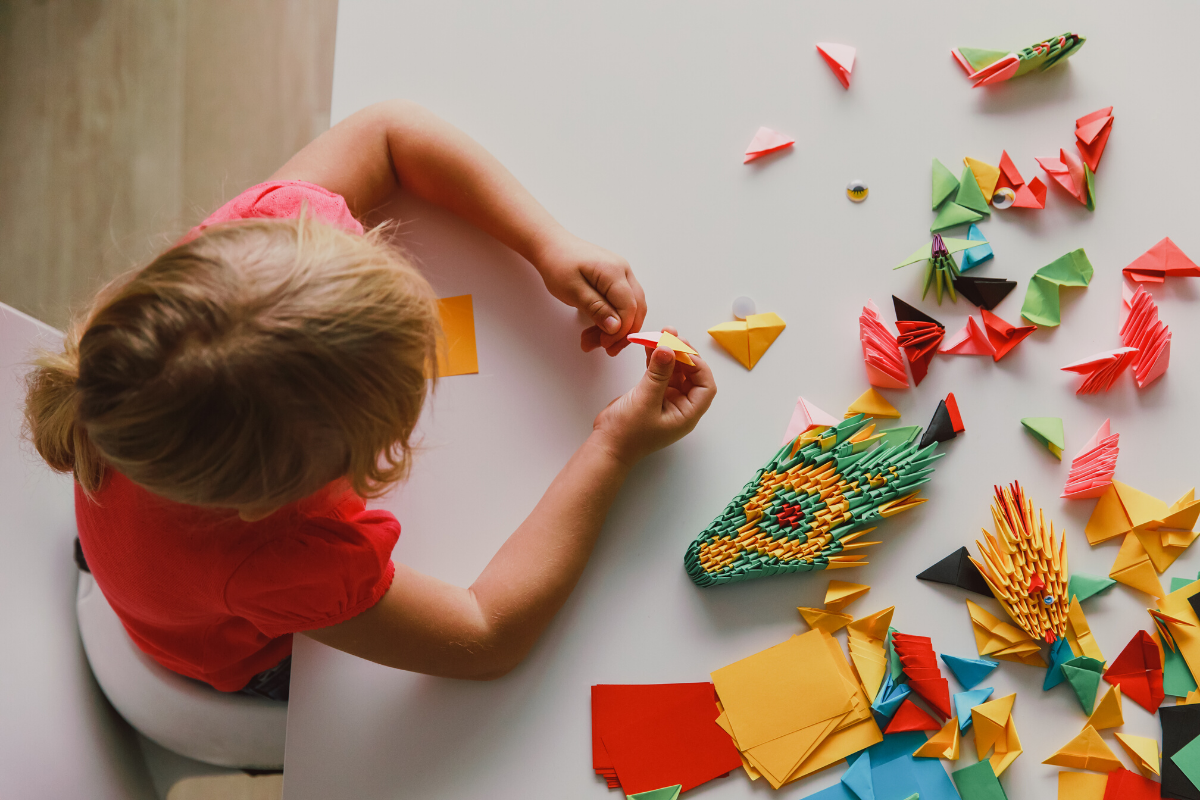
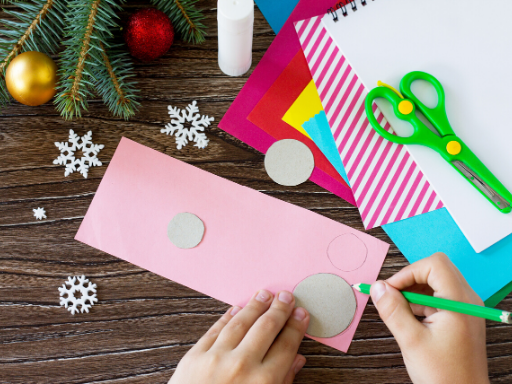
Craft is any creative activity that kids can do to keep them busy. They can invent new ideas or practice available creative activities, including coloring, drawing, painting, etc.
If your child has a passion over a given creative activity, it is best to help them nurture it that can be a talent which later-on can even pay all the bills. If this happens, it will be a big “thank you” to you.
Apart from classwork, this is another best field in which kids can excel in become successful adults in the future.
Below, you are going to learn some 20 simple craft activities which you can do indoors with your kids.
Mobile Phone Stand
A mobile stand is like an essential item in the house.
Since you need to place your phone in a safe place, you can quickly look at any incoming phone call or text.
Materials needed: tissue paper roll, tape, colors, scissors or razor, and pins
Procedure:
- When you have used all the tissue paper from the roll, a plain roll is all you need
- Using your pair of scissors or razor, cut a rectangle hole across the long side of the roll
- The size of the hole you need to cut depends on your phone’s size to facilitate the steady standing of the phone
- The tape is used as decoration; it will be best if you go for a colored tape. This way, you will get done with your craft within a short period.
- Stick it all around the roll
- You can opt to color the roll using your preferred colors
- The pins are used as stands; you need four of them for the roll to have a stable balance
You are all set with your cute, simple handmade phone stand.
Mitten Soft Craft
Kids love mittens. If you can manage to help your kid in crafting a simple mitten, that will be so lovely.
Materials needed: glove, needle, thread, and buttons (any color is okay)
Procedure:
- You can use a handmade glove or any glove of your choice, provided the material is not polythene
- Use the open part using a needle and a thread
- Go ahead to adding decorations by using buttons of your color choice
- The buttons are used to make the eyes
- Also, you can use a zigzag pattern to look like the mouth
Wow! Your mitten soft toy looks fantastic!
Mason Jar Aquarium
Did you know that you can customize a mason jar aquarium at the comfort of your house with your kids?
Here goes the good news.
I have prepared you a step by step guide of how to go about it.
Materials needed: mason jar (with a lid), plastic plants, fish toys (preferably plastic), aquarium gravel, food coloring, and hot glue
Procedure:
- Hold the jar and hot glue the gum at the bottom from the inside
- When still hot, stick plastic plants at the center of the jar
- Also, pour in the aquarium gravel before the glue cools down
- The gravel should not be too much, but enough to cover the bottom of the jar
- Add water into the jar; colored water works better
- You can achieve any color of your choice using food color
- Put your plastic fish into the jar. The reason for using plastic fish is to prevent the fish from sinking. If you use a heavy material, your fish is going to sink.
- Close the jar, and you are all done.
Amazing! Give it a try, and you are going to like what your eyes are going to see.
Bookmark
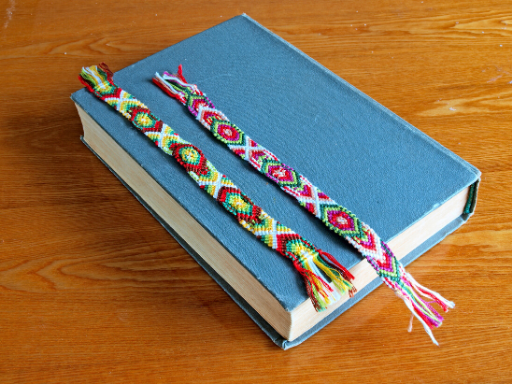
In every family, you find a couple of children, teenage, adult, and general books. A bookmark is an essential item in the house. You can make different portable colors for bookmarks to make the reading process a little bit easy.
Materials needed: Different colors of pompom thread (yarn) and scissors
Procedure:
- Wrap the yarn on your four middle fingers
- Hold the edge of the yarn with your index finger
- Slip the yarn off your figures once you achieve your preferred size
- The yarn will be having two tails, tie them together to form a knot
- On the knot, add the length and make it thicker to achieve your preferred tail design
- You can repeat the process to make different colors of bookmarks
- The tail is the one that goes through the book page
Go ahead, try your new bookmark.
Rainbow Colors
The rainbow colors can be confusing for beginners.
The activity of coloring rainbow colors helps kids to learn the rainbow colors more easily.
Materials needed: white paper, colored paper (but not a must), colors, scissors, and glue
Procedure:
- Using the razor or scissors, cut the paper into your preferred size, which can accommodate all the rainbow colors, It is best if you cut them in a long rectangular shape.
- Paint each piece of paper a different color
- Ensure all the rainbow colors are included, so you need like ten pieces
- Using the white piece of paper, cut it in a cloud-like shape, or cut some small circles. When you attach them, they look so good, like clouds.
- Stick the colored papers to the white one of the cloud-like shape
- When done, the pattern will look like the real rainbow.
Much better, your art can be hugged on the wall as a decoration.
Wow, so memorable!
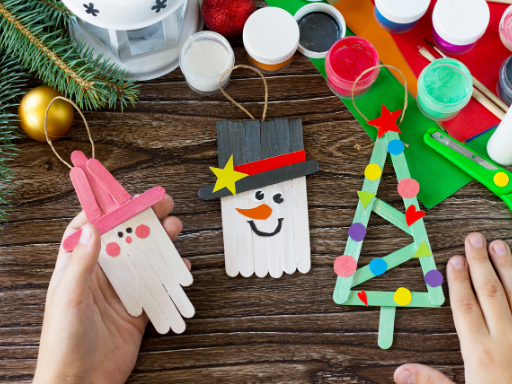
Star Craft
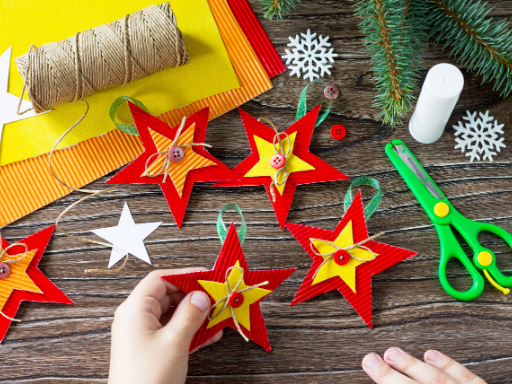
Stars are cute. All kid likes stars, and they feel that if possible, they have a touch to one.
Coming up with an idea to craft a star with your kid will be an excellent idea.
Materials needed: manila paper (any color), colors, razor or scissors, glitters, glue, thread, and needle
Procedure:
- Using a razor or scissors, cut the manila paper in a star shape
- Given a star has got five parts, color each part with a different color
- Stick the glitters all over your star shape pattern to give it a shiny look
- Using the glue, stick your pattern on the wall, or hang it on the wall using a thread
- If you are using a piece of thread, you will need a needle or any sharp object to help you make a hole on the manila paper
- The hole can be made on any edge of the star shape pattern
Your star is now all done! A star makes fabulous wall decor.
Button Craft
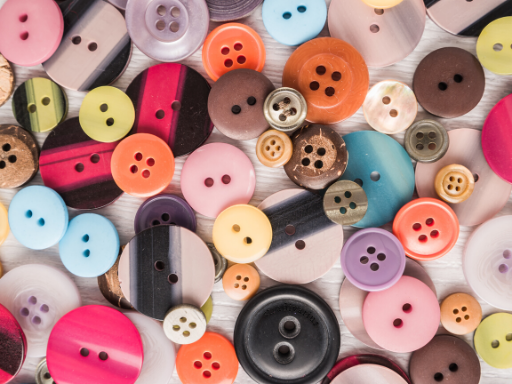
If you didn’t know, buttons could make perfect toys for kids.
Additionally, you can be a little creative and make something unique from buttons.
Materials needed: manila paper (any color), scissors, pencil, colors, glue, and many buttons of different colors and shapes
Procedure:
- Using a pencil, draw your preferred pattern of maybe an animal
- Cut the pattern off from the rest of the manila using the scissors
- Color the pattern with colors of your choice, preferably the color of the real animal
- Using glue, stick the buttons on the pattern to create eyes, mouth, and other body parts, which possibly you can craft using buttons
You can’t imagine how cute this will come out. You need to give it a try.
Clock Craft
A clock is an essential item in the house. The majority of households have got a wall clock.
Teaching your kids how to use a clock helps them know how to manage their time well.
Mostly, if your kids go to school, they need to understand the big picture behind proper time management.
It will go a long way to helping them to be ready for school on time.
Let’s now talk about how to make a clock craft, which can be the right wall decor at the kids’ room.
Materials needed: manila paper, pencil, razor and scissors, marker pen, compact disc (CD), glue, and nail
Procedure:
- Cut the Manila paper using the scissors to create your preferred wall clock shape.
- Using a razor, cut twelve small circular shape pieces from the Manila paper; you are going to use this for numbers one to twelve.
- Using a marker pen, label the circular shape pieces number one up to twelve.
- You can color all the numbers using one color.
- In the wall clock shape, stick your Compact Disc using a glue.
- The compact disc is used to give the perfect circle shape, and its shininess is all perfect.
- Between the compact disc and the wall clock shape, stick all-round the numbers one to twelve.
- At this point, you more than halfway done.
- Using the scissors cut a long rectangle piece of paper and a small triangle piece of paper.
- You need to join the rectangle and the triangle using the blue to form the clock arrow.
- Repeat the process for the short (hours) and the long (minutes) arrows.
- For the two arrows, color them using two different colors.
- Between the compact disk and the clock arrows, you need a nail to help you hold everything together and also enable you to hang it on the picture rail.
Wonderful! You did it.
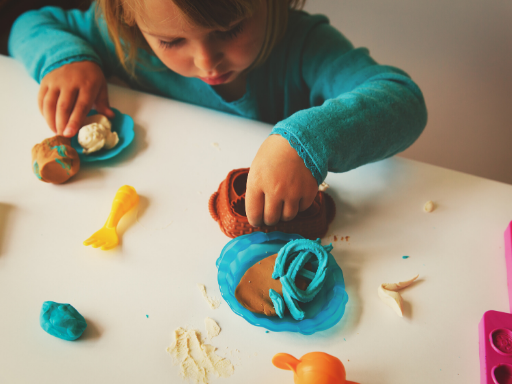
Clay Craft
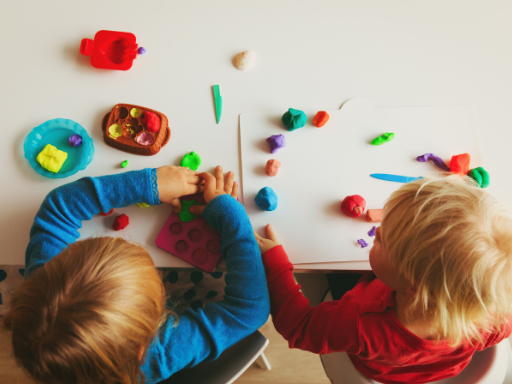
Who didn’t like playing with clay when young? I guess none!
Even at school, kids are given clay to form letters, animals, or any easy pattern. Providing clay at home will be a perfect idea. An adult in the house can help by showing kids how to form different patterns and letters using clay.
If the kids a big enough, they may have an idea of how to work with clay. It can be easy to teach them how to make complex items like human faces, flowers like sunflowers, or fruits like the pineapple.
Materials needed: clay and a flat surface
Procedure:
- Using your hands, cut clay according to the size of the item you want to form
- For example, for the letter (A), you will need a small amount of clay.
- Roll the clay on the palm of your hand, enough to form a pattern like a number one, three inches long
- The three inches long should be two of them. Also, you need a two-inch clay of the same pattern.
- Now it’s time to join the patterns to form letter A
- Using the three-inch-long patterns, join them together to form the sharp top point of letter A
- The two-inch-long pattern connects your already formed design
Look at it! Your letter A looks so real! Good job!
Wrist Band Craft
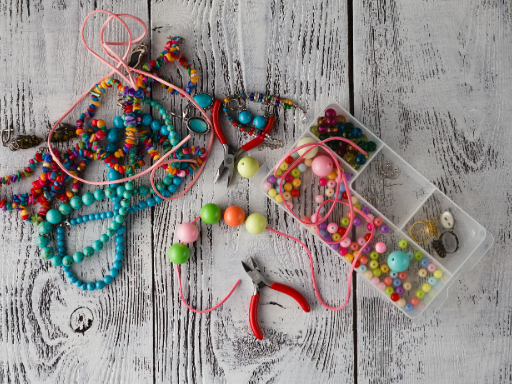
All age groups wear wrist bands. It is a simple craft idea.
Teaching your kid how to make an easy, cute wrist band will be the best idea ever.
Materials needed: beads (different types and colors), a thread woolen, or plastic
Procedure:
- For the thread, ensure it is strong enough
- For the plastic material, ensure you can be able to fold it since the wrist band needs to be round in shape
- Hold the thread on your hand
- Hold the beads too, and start passing the thread through the hole of the beads
- Continue doing this by mixing the different colors of the beads
- Measure the band through the hand to know when the right size is ready
- For the thread, you tie the ends and then cut off the excess thread
- For the plastic material, you can cut the excess part, the melt, the edges with some little heat, and connect the melted part. When it cools down after a few seconds, you are all done!
Your wrist band is all done; you can now rock and roll the world with your new jewel.
Food Craft
Wow! I like this one. Good craft is the most straightforward and interesting craft idea for kids.
You can start with your child’s favorite snack, like waffles, cookies, or bread.
Materials needed: clay and a flat surface
Procedure:
- For the waffles, you will need a square or triangle shaped dough
- Put your clay on a flat surface
- Spread it wide, three-inch square
- Cut the dough into two equal half’s to attain the triangle shape
- On the dough, make some holes (but not deep to show on the other side of the dough) using your fingers to attain the shape of waffles
- For the bread, make a bread shape dough
- For cookies, go with any shape of your choice since cookies come in almost all shapes
By practicing food craft, your kids are going to fall in love with cooking. It helps them have the urge to learn more and more new recipes.
Spinner Craft
Did you know spinner is a game? Well, now, you know.
Another thing you need to know is boys like playing spinner more than girls.
I don’t know the reason behind that, but I think it’s just nature. Since there are games liked more by boys than girls and vise-versa.
Materials needed: bottle top, nail, hammer, and a strong thread
Procedure:
- Using the nail and the hammer, make two holes the bottle top
- Through the hole, pass the thread
- Ensure the thread is strong enough; if it is weak, it will break before you get to enjoy the game to the fullest.
- Tie the thread at the two edges to make a join point
- Now you have formed two layers, which is good enough
- Using your thumbs, hold the thread and start rotating
- Once you see the bottle top rotating very fast, hold on spinning, and it will be going round and round as you watch
- When it slows down, repeat rotating the thread, and the game continues
Isn’t this awesome?
If your answer is YES, then keep your kids entertained at home with just a few minutes of creativity, and you are all set with one of the best simple games.
Leaf Craft
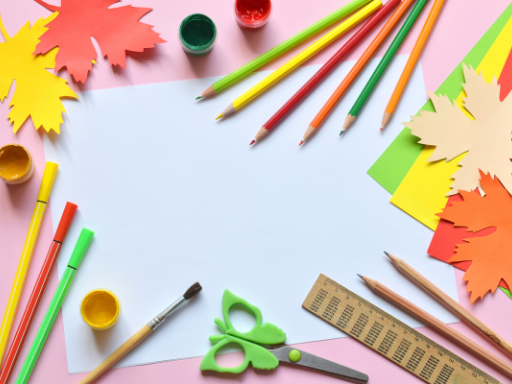
Leaf crafts make the cutest craft. If your kids are in the beginner years (pre-schoolers), you need to make a drawing first, then they attach the leaves on the picture. It will help them enjoy the activity more this way.
If they are older, you can draw, and they form the leaves pattern by looking at the picture. As they grow, they can make the pattern off-head without referring to a drawing.
Materials needed: drawing book, drawing pen, leaves, razor or scissors, glue, colors
Procedure:
- Draw a simple picture of maybe a bird on a piece of paper or a drawing book
- Collect a good number of leaves with different shapes and colors, if possible
- If you can’t manage to find leaves of different colors, don’t worry, that is why I include colors on the list of the needed items
- Using the razor or scissors, cut the leaves to match the parts of the drawing you make put down
- Attach the parts you have cut to the drawing on paper using the glue
- When all the parts are in place, color the eyes, nose, and any part you would like to, using a different color for each part
Wow! Look at the bird you have crafted! It’s awesome! Keep it up!
Paper Fan Craft
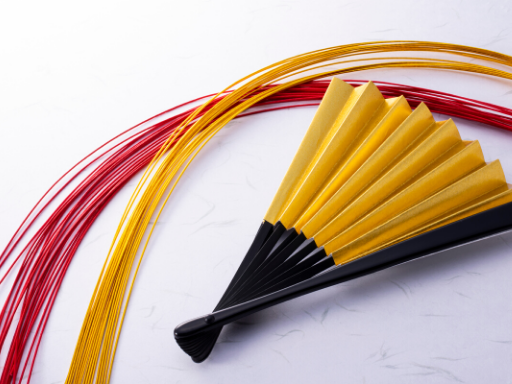
The fan is known to help in reducing high temperatures to at least standard in a room (house).
Making a handmade fan can be a good art idea. It is fast and straightforward to make. Also, it can serve the real purpose of a hand-fan.
Materials needed: foldable paper, colors, razor or scissors, and a woolen thread
Procedure:
- Fold a piece of paper to form a fan pattern
- Color the pattern using two to three different colors
- Cut another piece of paper in a teddy bear shape, add some decorations on it like eyes, nose, mouth, body, and legs
- You can also color the teddy bear shape with different colors to break the monotony and ensure your art comes out perfectly
- Attach the teddy bear at any part of the fun pattern using the glue
- Now let’s work on the handle part. At the fun pattern part, ensure you leave some extra part, which can be tied using a thread to form a handle of the fun.
- Use your preferred thread color and rotate the thread as many times as you wish to form a durable and robust handle
You are all set to cool yourself down using your handmade fun or use it as a decoration in the house.
Letters Craft
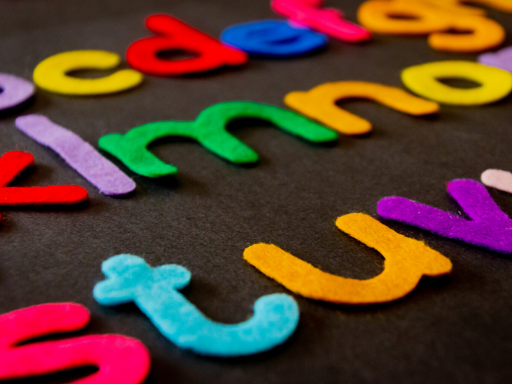
Letters are one of the first things beginners are taught the moment they start attending school.
Make the learning of your new school going kid more enjoyable by crafting letters at home.
It takes a few minutes to craft this and can be kept for a long time without spoiling.
Materials needed: woolen thread (different colors), a carton box, a pair of scissors, or razor
Procedure:
- Using the scissors, cut the carton box to your preferred letter. Let’s use the letter ‘M.’
- Using the woolen thread, wrap it all around the letter pattern you just cut from the carton box
- After about two inches of wrapping, you can use a different thread color to ensure your letter look unique and attractive
- Continue wrapping up until the whole letter is covered
Amazing! You did it!
You can keep the letter as long as you please. It can’t get spoiled quickly.
Even better, you can craft A-Z letters and make wall hangings for your kids’ room.
Peg Craft
Kids do love playing with pegs and just throwing them all over the place; they find it so exciting.
If you come up with an idea to help your kid craft something cute like a helicopter, wow, it will be a big ‘thank you‘ to you.
Materials needed: a peg, five ice cream sticks, glue, a pair of scissors, and colors
Procedure:
- Pegs are of many different types; you need to ensure that the one you are using has a ring between the front and the back.
- The one with a ring is a bit strong and has a stable balance when putting on the floor
- Colour all the ice cream sticks using different colors (for a pair of sticks, use the same color)
- You can opt to paint the sticks if you have enough time to gather all the painting materials
- Put the peg on the floor or a flat surface (lying on the long side)
- On the bottom part of the peg, apply glue (or spread on the stick, apart long enough to fit the whole bottom part of the peg)
- On one ice cream stick, apply glue
- For the front part wings, use two sticks colored or painted the same color
- Apply glue on one side of an ice cream stick (in the middle of the stick, an inch wide)
- Attach the glued part at the bottom of the peg (a peg has got a first gaping hole before the ring part). Straight under that hole.
- On the upper part straight to where you put the bottom stick, repeat the same process you used to attach the bottom stick and attach it to the upper stick
- Almost at the edge of the upper back part of the peg (where you hold when haggling cloths), stick another ice cream stick
- Using a scissor, cut an inch long piece off the ice cream stick (on the curve part)
- Cut it into two equal half’s
- Put it in a horizontal position (to attain the sharp edge and a curve part)
- Apply glue and stick it near the tail part of your helicopter
Can you see that? Wow! It comes out like a real mini helicopter!
Paper Plate Craft
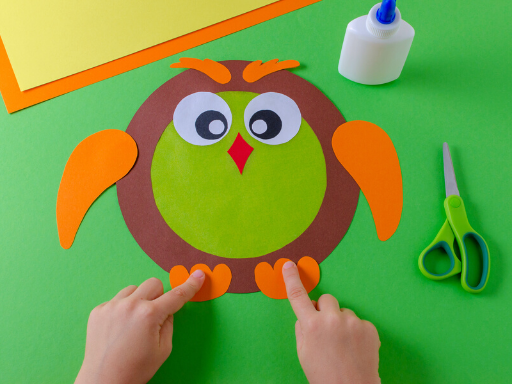
Did you know that using a paper plate, you can make a simple bunny?
Well, now, you know.
Materials needed: a paper plate, a drawing pen, a piece of paper, a woolen thread, and colors.
Procedure:
- Put your paper plate on a flat surface
- Turn it upside down (to form a bunny like a face)
- Using a scissor, cut two pieces of paper to form an ear shape pattern
- Color the pattern with your preferred color
- Using glue, attach the ears to the paper plate
- Cut another piece of paper in an eye shape
- Color the eyes with your preferred color
- Using a scissor, cut three pieces of thread
- You can measure the length you need using the paper plate (they need to be a little bit longer)
- It is best if the color of the thread is the same as the one you used to color the ears
- Attach the thread to the paper plate to look like the long hair which grows around the nose of a bunny
- You can also roll a yarn and stick it at the top of the thread to look like the nose
- Finally, draw a mouth pattern on the paper plate; you can use a drawing pen or marker pen.
You are all done. That was so easy!
Cup Butterfly Craft
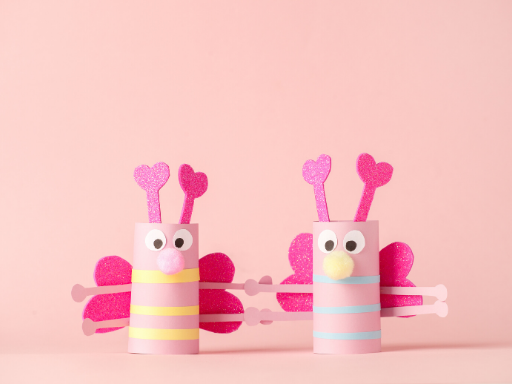
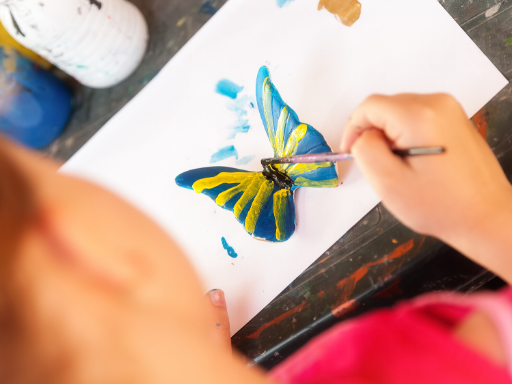
Butterflies are beautiful. Almost if not all, kids love butterflies.
Teaching your kid how to craft a simple butterfly will be awesome.
Materials needed: Plastic disposable cups, woolen thread, a piece of paper, a pair of scissors, colors, a needle, and glue
Procedure:
- Put the plastic cup on a flat surface facing upside down
- You can paint the cup or just it be
- Cut a piece of paper to form a butterfly wing-shaped pattern
- Make two patterns so that you can attach them on the left and right sides of the cup
- Color the patterns with your preferred bright color
- You can add decorations using colors, (given, butterflies naturally has many colors)
- Attach the wing using glue to the cup
- Cut a piece of paper in eye shape and color the eyes
- Attach the eyes pattern to the cup
- Using a marker pen, draw a mouth pattern on the cup, under the eyes
- Using the woolen thread, you need to make the nostrils which are also used for tasting by butterflies
- Make two small holes at the bottom of the glass
- Insert the woolen thread into the hole; it needs to be a single piece of yarn at each given hole.
Wow! Your butterfly cup craft looks so cute.
Compact Disk (CD) Butterfly Craft
If you happen to have a spoiled compact disk in the house, don’t through it away.
The compact disc has a shiny appearance.
It comes out cute if you include it as one of the materials to form a butterfly craft.
Materials needed: compact disc, manila paper, pair of scissors, marker pen, and colors
Procedure:
- Put the compact disc on a flat surface
- Using the scissors, cut a butterfly wing-shaped pattern
- Make the patterns two of them be attached on both the left and right side of the compact disc
- Color the wing-shaped pattern to give it the cute look of a real butterfly. You can use as many colors as you want.
- Attach your cute butterfly wings on the compact disc using glue to make the left and the right-wing
- Cut another piece of the manila paper to make the head part of a butterfly
- Shape the pattern carefully to form the nostrils and face shape
- Using your marker pen, draw all the face details you would like to include
- Attach the head on the compact disc
Do you like the simple craft you have made? I guess it looks so cute.
A Peg Butterfly
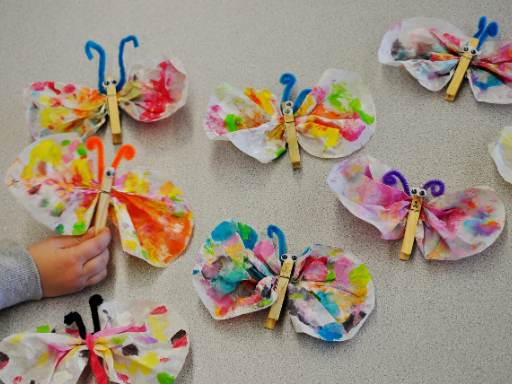
You can craft a butterfly using many items readily available in your house without going out to the stall to figure out what things you need to craft a cute butterfly.
You are going to learn how to craft a simple butterfly using a peg.
Materials needed: a wooden cloth peg, a woolen thread, a piece of paper, and a drawing pen
Procedure:
- Fold the woolen thread to form a wing-shaped pattern
- Hold the peg, open it wide open like you want to hook it on a cloth
- Push the wing-shaped thread down to the metallic joint of the peg
- Cut a piece of paper to form an eye-shaped pattern
- Color the eyes with preferably color black
- Attach the eyes on the wooden peg; at this step, there are some details you need to look at; you need to attach it at the top front part of a peg. Also, you need to leave a small gap between the eyes and the edge of the peg. To give room for the mouth part of which, after sticking the eyes will automatically appear.
- Attach the eyes using glue
Awesome! You did it! Good Job!
Now that you have gone through the top 20 simple craft ideas, you are all set to keep your kids busy at home and making happy memories together. I wish you happy parenting!